Free Image ML Generation on Apple Silicon
So I was recently discussing with a friend, and topic of MidJourney came up. And he mentioned how he'd seen some interesting posts on twitter with generated images and wanted to use AI generated images as image content for his blog. So I realized that apparently it is not as famous as I'd though these tools would be, so very narrowly I'll discuss only the current workflow I use.
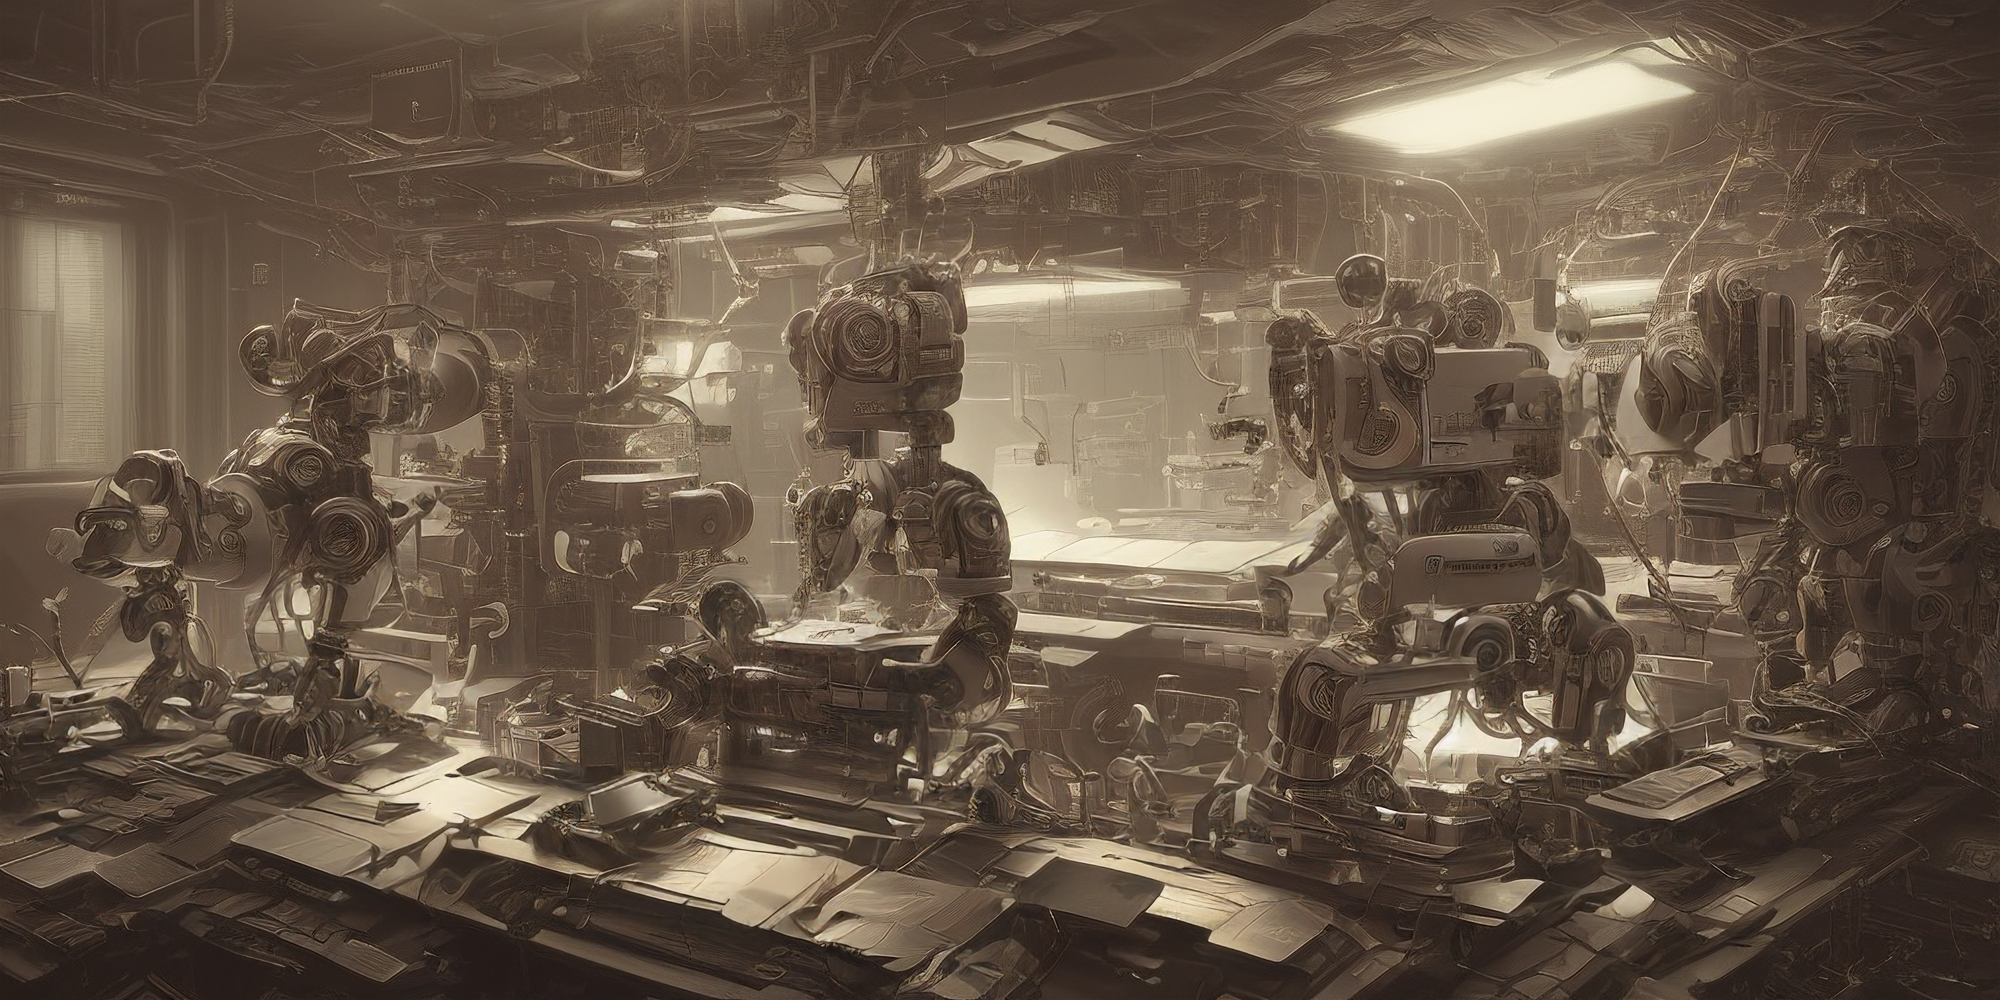
My first problem was that while most tools can generate images, prompt engineering was a hassle in itself. This is where my wife pointed out this amazing model. Using this, you can go from Pilots in a cockpit to:
Pilots writing code, subtle colors, post grunge, concept art by josan gonzales and wlop, by james jean, Victo ngai, David Rubín, Mike Mignola, Laurie Greasley, highly detailed, sharp focus, Trending on Artstation, HQ, deviantart, art by artgem

Pilots writing code on pc monitor, digital art, trending on artstation

Pilots writing code on pc screen 4 k digital painting by James Gurney, trending on artstation

Pilots writing code on blank paper, hyperrealistic, concept art
I wrote a small notebook based on the above model and code which does the same but on free GPU (and thus much much faster) by Google Collab. You can check it out here.
The second and most important step is the amazing and free app, called Draw Things. The app is mostly self explanatory, but I'd like to recommend a few settings.
Once you open the app, it'll ask you to download a model. Once you're done, you'll land in the following UI, except I've marked stuff with colors.
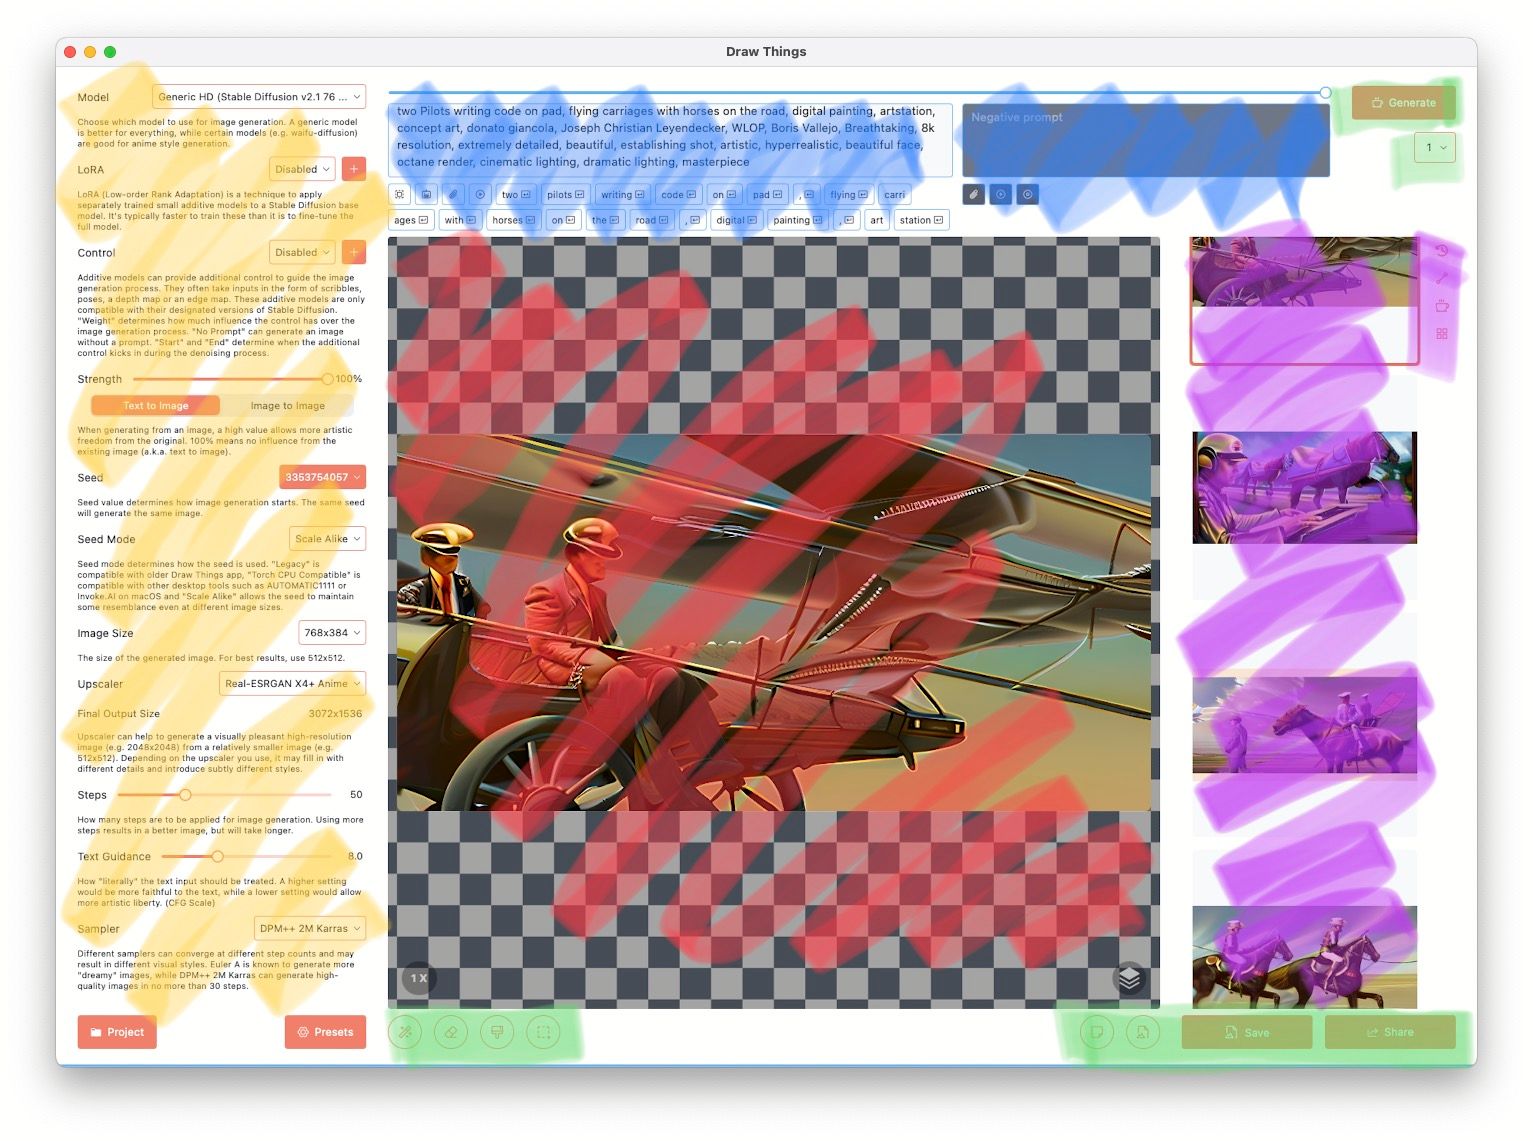
On the left yellow are the main tunables for the models. We'll go in more details of this section below.
There are 2 Blue sections. The white background one is the positive prompt (stuff I want in the picture), while black background is negative (dont want in the picture).
Red is the canvas area, which shows previews, as well as progress, and then the final rendered image. Purple section shows the generated history.
Green section are action buttons. On the top right, you've one Generate button and a drop down to select how many iterative runs (meaning literally running the same generation action over again and thus run slower but require less RAM, different from batch size as they're generated in parallel and require more RAM) you want to do. Bottom right green has gallery actions Save and Share. However there are 2 very important buttons to the left, new canvas and load file into the canvas. Using these options allows you to feed a starting image to your model. The bottom left-center green buttons allow us to use masking and other fine image generation controls, but we'll discuss them in future. For now we'll start with some basics of the left.

The beauty of Draw Things is how deep and wide the controls go. However this also made it a bit overwhelming for some of my friends. Hence I highlighted the basic settings here:
- Model - Choose the basic model you'll like to try. My recommendations to try are:
a.Generic HD Stable Diffusion v2.1 768-v- Best General IMHO
b.OpenJourney- Best Realistic IMHO
c.Anime (Anything v3)- Best Anime General - Strength - How strong do you want your text input to influence the output. You'll notice that choosing image automatically drops this. Sometimes while using image (option mentioned in the bottom right of the canvas) you'll want to play with it.
- Seed - This number is an initialization number, and playing around can sometimes help to randomize results.
- Image Size - Keeping this low allows us higher batch sizes (more samples in a single run, and faster times, but at the cost of lower quality)
- Upscaler - A post generation step, which uses another model to upscale the generated images
a.Real-ESRGAN X4+ Anime- Best for Anime
b.Real-ESRGAN X4+- Best overall
c.4x Ultrasharp- Best Photorealistic - Steps - Should be between 30-50 depending on the sampler. I've set Sampler here to
DPM++ 2M Karrasbut for a dreamy image, tryEular Ancestral - Text Guidance - How strictly we want it to stick to the text input we want. 7.5-8 is usually the balanced region. Anything more literally zips out any random creativity
- Batch Size - How many images are we processing in parallel. This is faster than the iteration method, as some steps are common, but requires almost twice RAM, and thus is not recommended to go beyond 2, unless you've more than 16 GB RAM.
Clicking the blue icon, further leads us to performance tuning options. I'll recommend to leave them as-is, unless you specifically know what you're doing, and in that case you won't need to read this post anyway. 🤷♂️
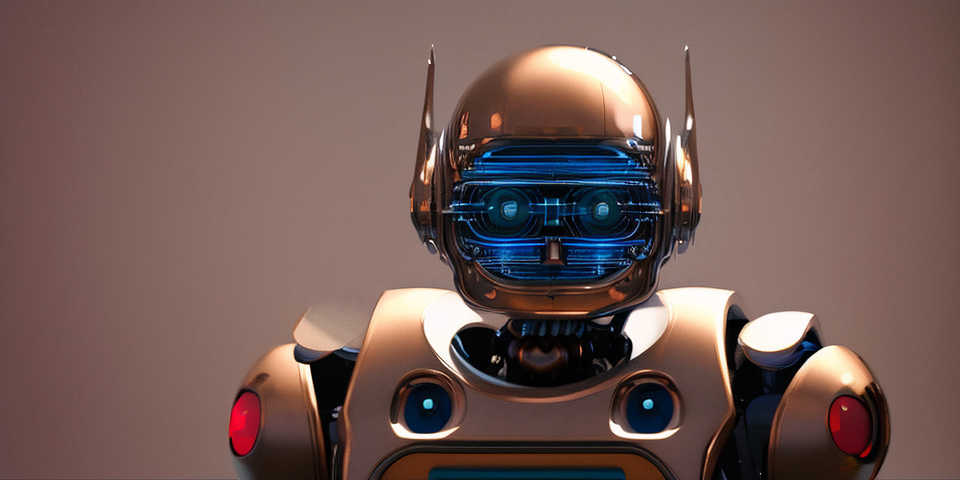
As a general observation, it seems generating Anime content looks better mostly to an overage observer since it has more creative freedom than a photorealistic image. Here is one such sample